How to Prepare Your Gas Grill for Winter
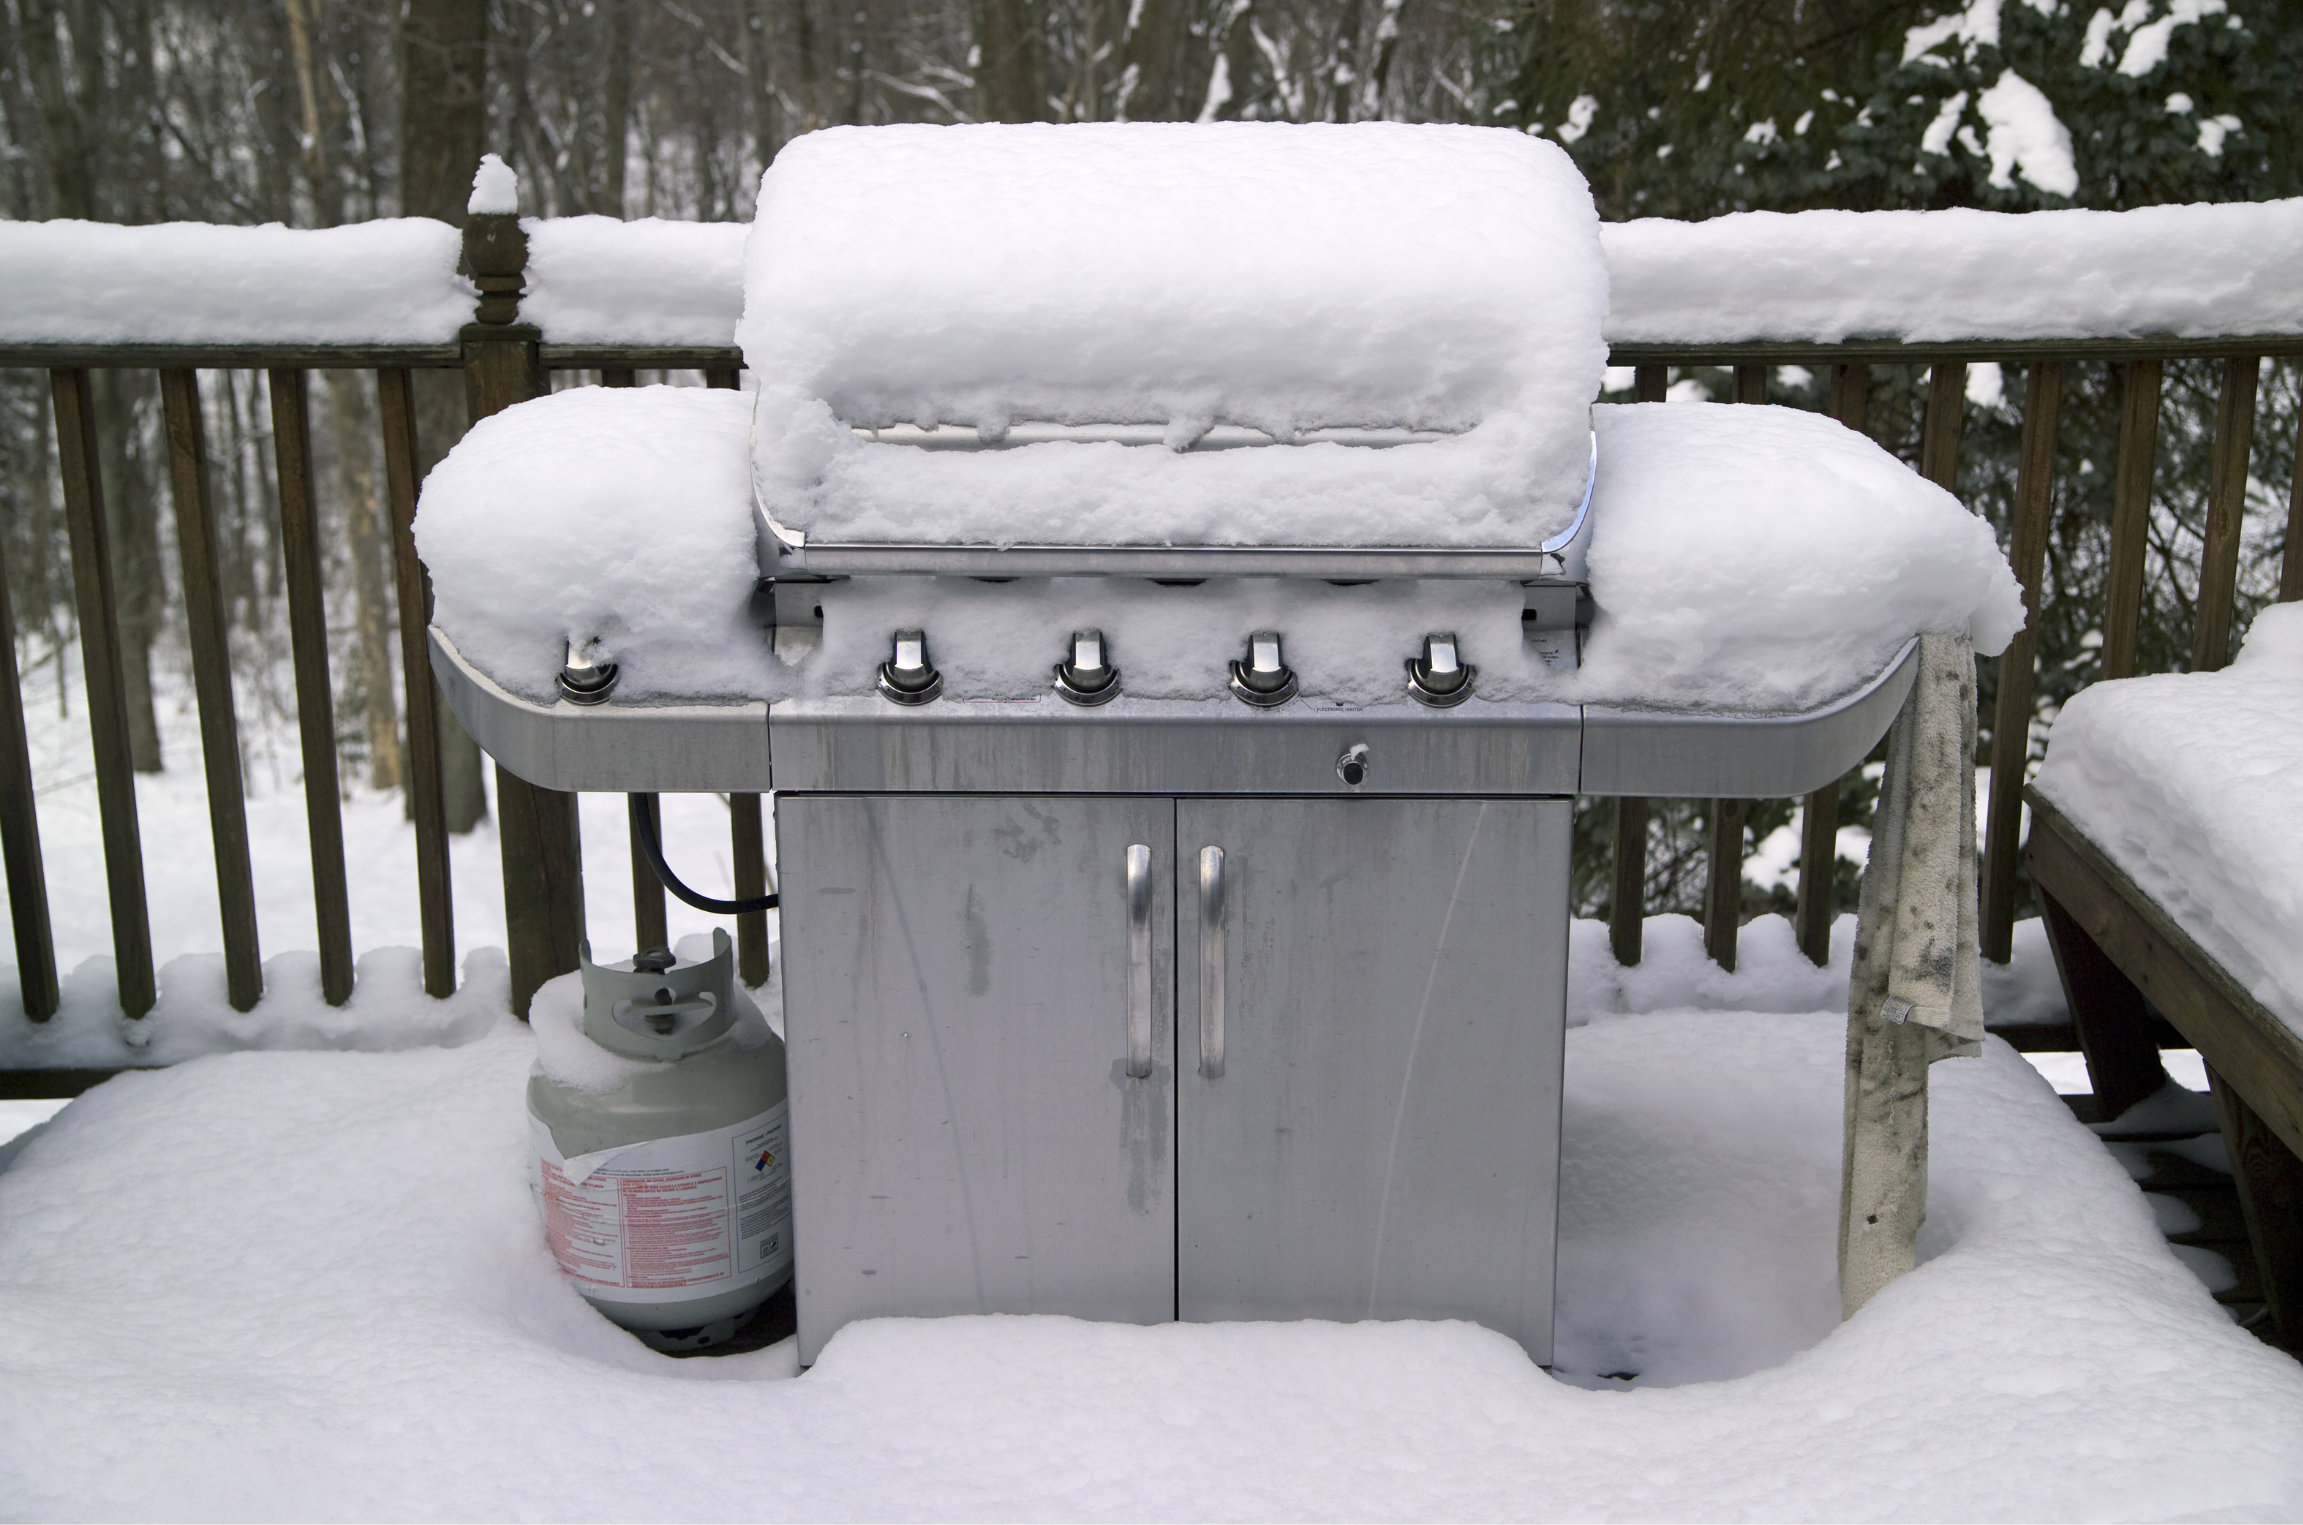
Winter is coming and it's time to put your gas grill into hibernation until next year. But before you do, it's important to properly prepare your grill to ensure it stays in top shape and is ready to go when grilling season rolls around again. Whether you're a seasoned griller or a newcomer to the BBQ scene, this guide will help you get your gas grill ready for winter storage.
Step 1: Clean the Grill Grates
The first step to preparing your gas grill for winter storage is to thoroughly clean the grates. If you've been grilling all season long, the grates are likely coated with a layer of grease and food residue, which can attract pests and cause rust and corrosion over the winter months. To clean the grates, turn the grill on to high heat for about 10-15 minutes to burn off any remaining grease. Then, use a stiff wire brush to scrub the grates clean. You can also use a grill cleaning spray if you have one handy.
Step 2: Clean the Exterior of the Grill
Next, it's time to clean the exterior of your gas grill. Wipe down the exterior with a damp cloth to remove any dirt and grime. You can also use a degreaser if there are any stubborn grease spots. If you have a stainless steel grill, make sure to avoid using any abrasive materials that could scratch the surface. For best results, use a microfiber cloth and a stainless steel cleaner specifically designed for your type of grill.
Step 3: Clean the Interior of the Grill
Now that the exterior of the grill is clean, it's time to clean the interior. Remove the grill grates and any other removable parts, such as the drip pan, flavorizer bars, and heat deflectors. Wash these parts in warm soapy water and dry them thoroughly. Use a damp cloth to wipe down the interior of the grill, making sure to remove any food residue or grease buildup. This will help prevent rust and corrosion from forming over the winter months.
Step 4: Replace the Propane Tank
If you have a propane gas grill, it's important to replace the propane tank before storing it for the winter. A full tank of propane can pose a safety risk over the winter months, as the gas inside can expand and contract with changes in temperature. To avoid any potential dangers, it's best to store the grill with an empty tank or to remove the tank altogether and store it separately. If you're not sure how to remove the propane tank, consult your grill's manual or contact the manufacturer for assistance.
Step 5: Store the Grill in a Dry Place
Once your gas grill is clean and empty, it's time to store it for the winter. The best place to store your grill is in a dry, sheltered area, such as a garage or shed. If you don't have a suitable storage space, you can cover the grill with a heavy-duty grill cover. Make sure the cover fits snugly around the grill to keep out moisture, snow, and other elements. Do not store the grill outside, as this can lead to rust and corrosion, as well as damage from wind and rain. If possible, elevate the grill off the ground to prevent it from coming into contact with moisture and to allow for proper ventilation.
Step 6: Protect the Hoses and Regulator
The hoses and regulator of your gas grill are also vulnerable to damage during winter storage. To protect these parts, disconnect the hoses from the propane tank and store them separately. If the hoses are too long to store conveniently, wrap them up and secure them with a zip tie or twist tie. You can also consider purchasing a hose cover to protect the hoses from the elements. As for the regulator, make sure it's protected from moisture and stored in a dry place.
Step 7: Check the Burners and Valves
Before storing your gas grill, it's a good idea to check the burners and valves for any signs of damage or wear. If the burners are dirty or clogged, clean them with a wire brush or a cleaning solution. If there are any cracks or holes in the burners, it's best to replace them before storing the grill. Similarly, check the valves for any signs of damage or leaks. If you notice any issues, replace the valves before storing the grill. This will ensure that your grill is ready to go when grilling season rolls around again.
Step 8: Cover the Grill
Finally, it's time to cover the grill. Make sure the cover fits snugly over the grill, leaving no parts exposed to the elements. This will protect the grill from moisture, snow, wind, and rain, and keep it in top shape for next year's grilling season. If you've stored the grill in a dry, sheltered area, a cover may not be necessary, but it's still a good idea to cover it to keep it free from dust and debris.
Conclusion
By following these simple steps, you can prepare your gas grill for winter storage and ensure that it's ready to go when grilling season rolls around again. Regular maintenance and cleaning will keep your grill in top shape, and proper storage will prevent rust and corrosion, extend its lifespan, and make sure you can enjoy delicious boozy meat for years to come. So, don't neglect your gas grill this winter, take a few minutes to prepare it for storage and it will reward you with many great grilling experiences in the future.
Whether you're a seasoned grill master or just starting out, Boozedogs.com has the meat you need to make your barbecues buzz. So why wait? Explore our gin bratwurst, rum burgers, and bourbon hot dogs today and start grilling like a pro!
We hope that this article has helped you learn how to prepare your gas grill for winter storage. If you have any questions or need further assistance, please don't hesitate to reach out to us. Grilling is better with Booze Dogs!


Leave a comment
This site is protected by hCaptcha and the hCaptcha Privacy Policy and Terms of Service apply.